Showing posts with label Christmas. Show all posts

Wednesday, December 26

HOLIDAY: TIME WELL SPENT

These past few weeks have been a mixture of crazy, fun, hectic and enjoyable moments. Most of my time was spent making gifts and painting the wrapping.  I also had a few opportunities to participate in a few different ornament exchanges. Which, to say the least, was so fun! Not only do you receive packages throughout the month, you also get to make and send off your own ornaments. I definitely look forward to participating in more ornament exchanges in years to come!
Along with the Christmastime business, I was able to spend time with family and friends. We celebrated Christ's birth, exchanged gifts, had fun playing card games and eating too many sweets. 
All in all this month was great, but I am ready to get back to my normal routine. 

Get the DIY for these woven coasters HERE.
I tried to make lemon thyme soda the other day, it turned out alright, but now my head is spinning with more delicious flavors! 
Me with my nieces and nephew! :] My brother and sister-in-law's cat is so sweet! 

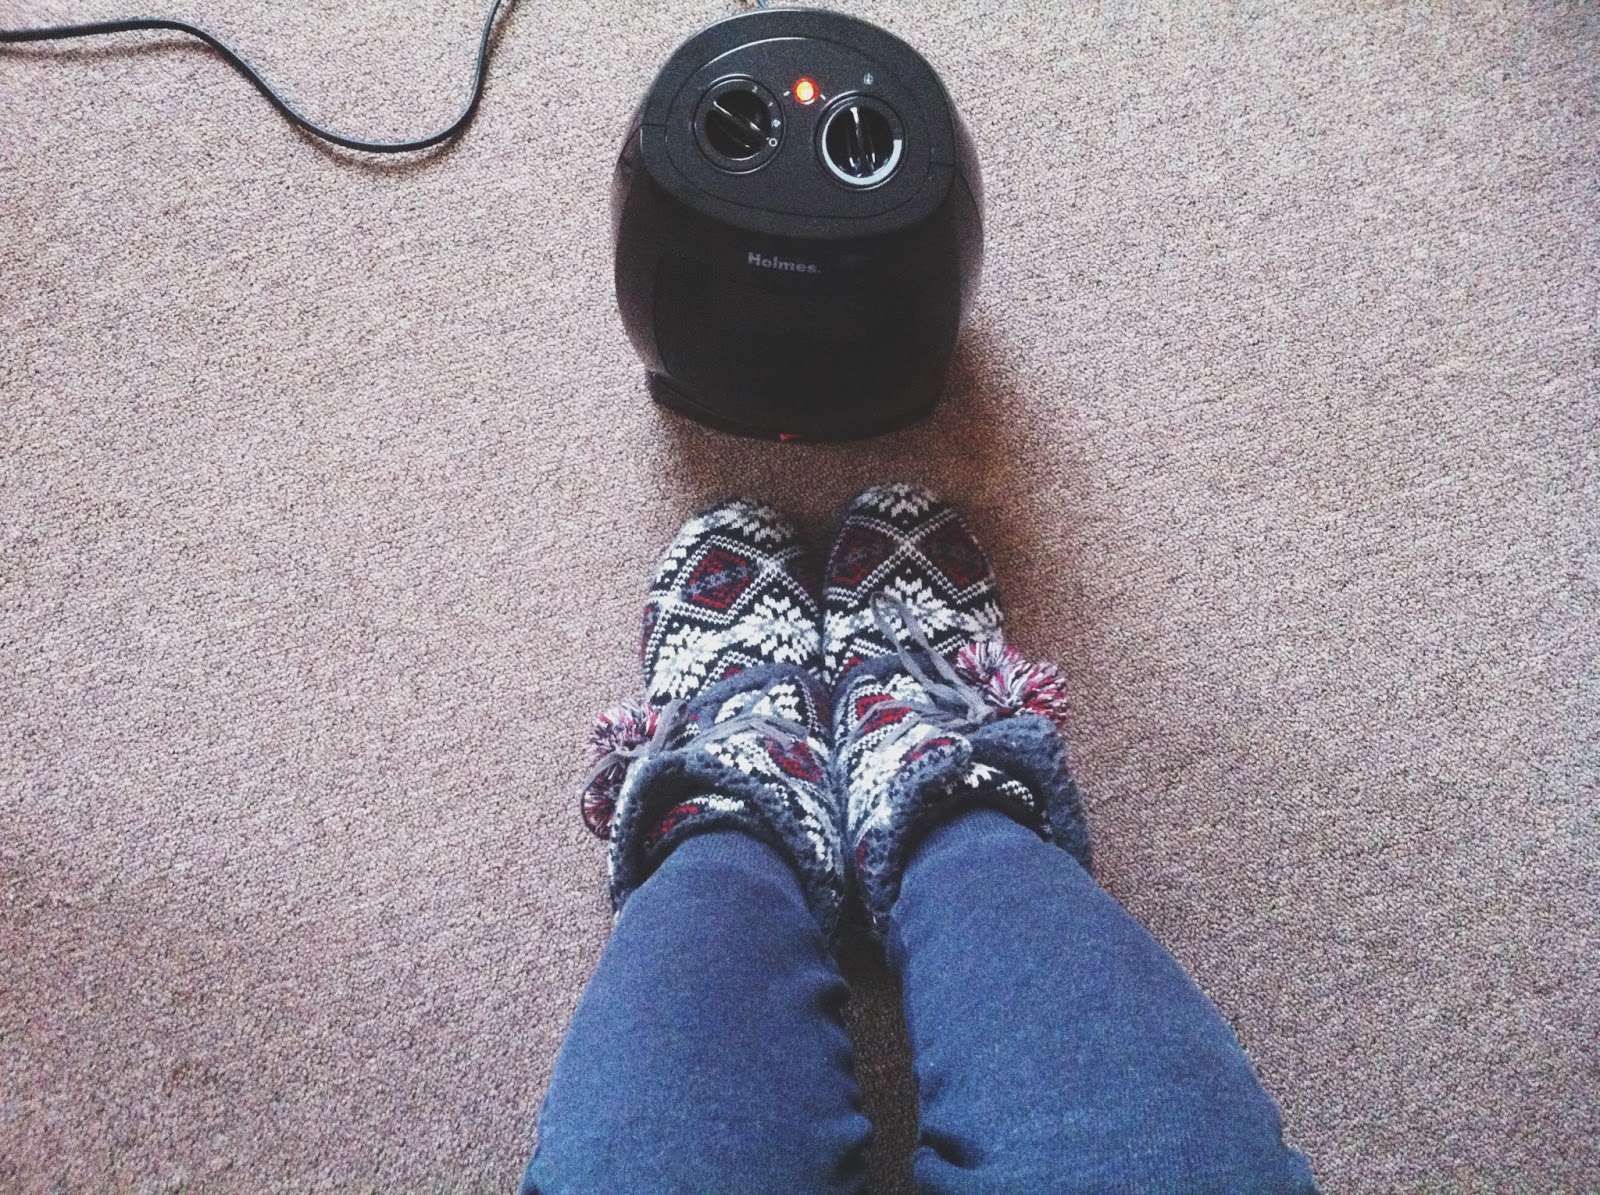
Among many of my gifts were these earrings, this little (might I add, life-saving) heater, and an easel. 

I hope you all had a merry Christmas! Tomorrow I start a short week of work only to be off again for the new year. I will be working on my new blog layout in the meantime! 

Have a wonderful night, friends! 


Sunday, December 16

DIY: POM POM - ESQUE ORNAMENT

This ornament is not at all complicated and is relatively cheap to make depending on the materials you choose to use. Despite its simplicity, I have to warn you that this project can be rather time consuming. Making it the perfect project to conquer while watching a movie. If your anything like me you, too, like to feel that you are being productive while you spend a day off on the couch.

You will need:
>> A medium size bulb ornament - I used the plastic ones from the dollar section at Target.
>> Lots of newspaper/Fabric - Whatever material you choose to glue to your ornament. 
>> Hot glue gun and extra sticks of glue
>> Scissors

Start by cutting the material into strips then into squares. They do not have to be perfect squares, but you will not want to cut them any larger than one square inch.  
Now for the tedious part... And your fingers will turn black...
"Fold" the pieces of paper to where the center of the square can be held between your fingers with the corners sticking up. (If using fabric, you can skip this step, as the fabric will not stay folded) Its best to fold every piece of paper just because it makes them easier to grab and stick into the hot glue before it hardens. 
Now, grab your ornament and your hot glue...

I start around the top of the ornament and work my way down. Add a drop of hot glue and start adding pieces of paper to it. Continue to fill in the empty spaces until the ornament is completely covered. (that's the long part)


Go back and fill in any gaps you may have left and secure any loose pieces of paper. You can also trim any longer ends that you don't like. I kind of pressed the ornament between my hands to give it a more crumply look. 

Now your ornament is ready to hang on the tree! 


^These are a few of the different kinds of ornaments I have made. I have used newspaper (top left), floral fabric (top right), tulle (middle), brown napkins (bottom left), and, finally, book pages (bottom right).


Another wonderful thing about these ornaments is that they can be used any time of year as decorative balls in a bowl alongside pine cones and other fun things. So, they are not only limited to Christmastime. 

Have fun! 

Sunday, December 2

DO IT YOURSELF: PINE WREATH

Every apartment I have lived in, I have never had a wreath for the front door during christmas. This year, I decided to make one. I gathered a bunch of pine trimmings from the pine trees around my parents' house and grabbed an embroidery hoop that I have had sitting around for a few years. Virtually, this project didn't cost me anything since I already had the basic supplies. 

If you do not have the basic supplies, you will need:
Pine trimmings
One embroidery hoop
Floral Wire
Wire cutters 

I started by attaching the larger pine trimmings one at a time, pointing the same direction, with the wire. Make sure that the bottom layer of branches is secured well to the embroidery hoop.
Continue placing branches to fill out the wreath. I had to attach some of the little pine twigs to others to get the shape I wanted and to prevent any from sticking out. Once you have placed all the larger pine trimmings, place the smaller trimmings in spots where the wreath may look empty. 


Once your wreath looks full, hang it up! Easy enough, right? 
I'm so happy with how my new fresh pine wreath turned out. My roommates, our friends, our neighbors, and I will be greeted with a wonderful smelling wreath when we step inside the entryway!

Erin

P.S. Sorry that I have been away so long! I have missed you all!